To install a new instance of Conquest 3 follow the steps below. In case of upgrading an already existing Conquest 3 instance, see Conquest 3 Update
Step 1. Make sure that the prerequisites have been met, as described in the Web Server Prerequisites section
Step 2. Start The Conquest Management Console.
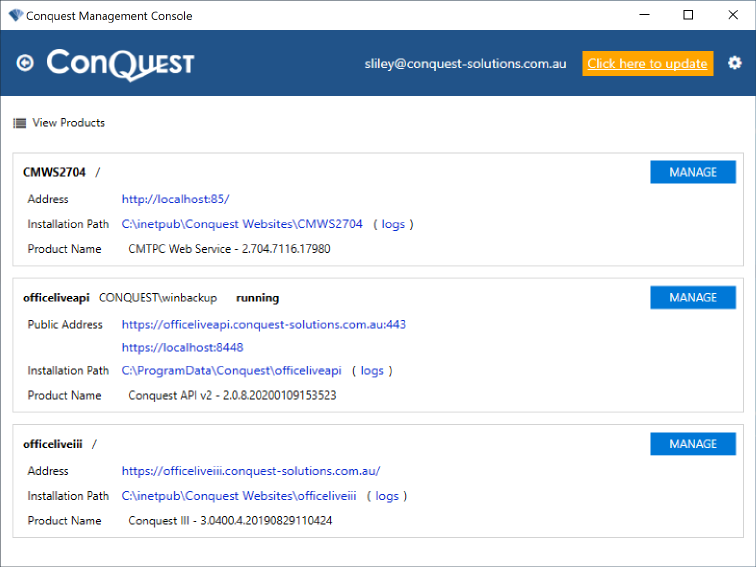
Step 3. If you see Click here to update in the Form Header, please do so:
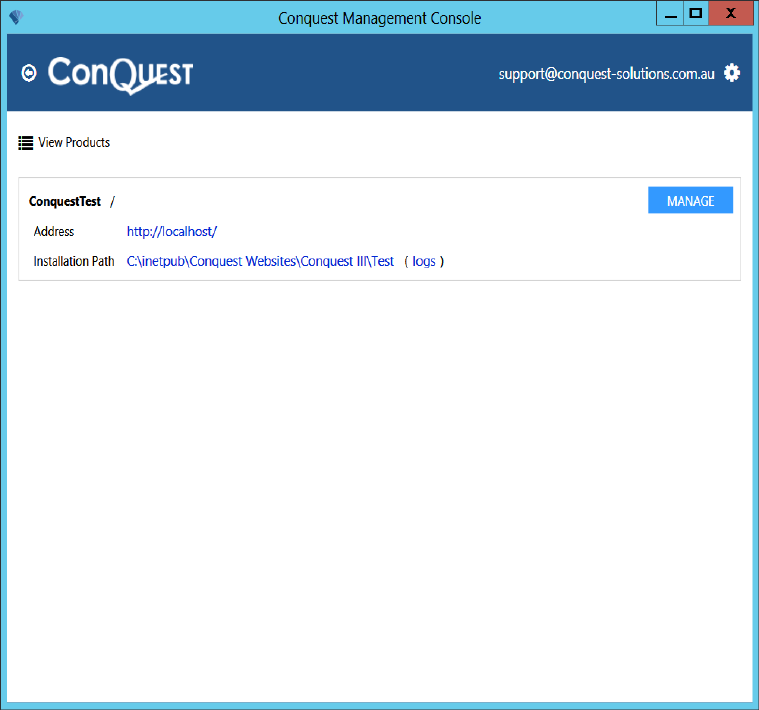
Step 4. If this is your first use of it, the Management Console will look empty:
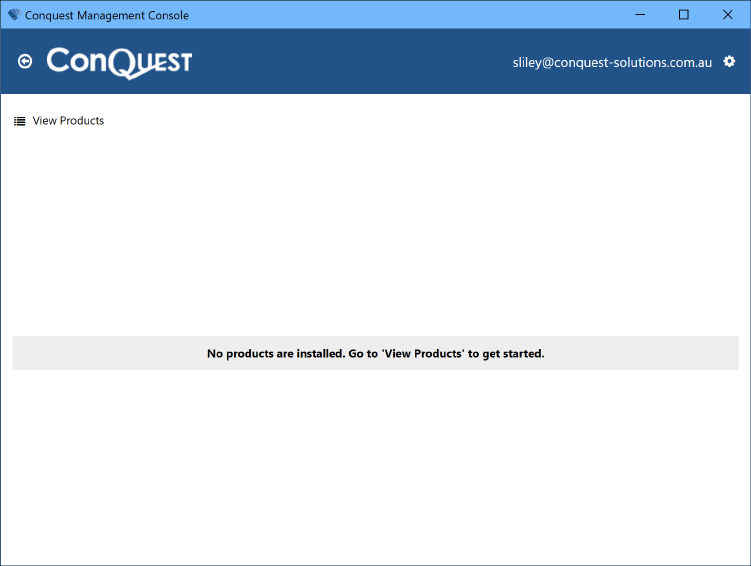
Step 5. Click the View Products button:
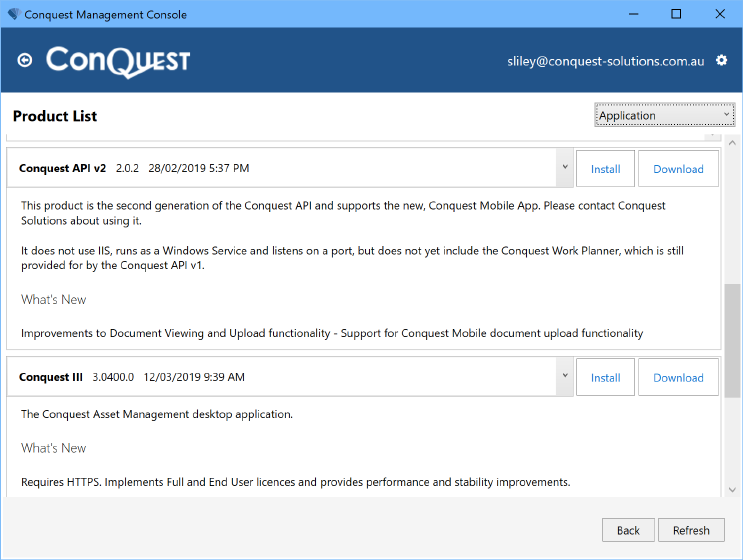
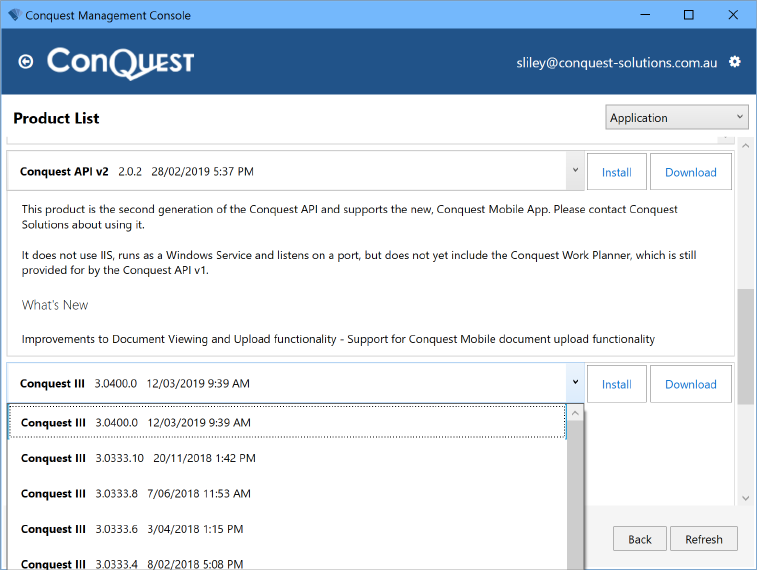
Step 6. Select a version of Conquest 3 e.g. 3.0401.2, wait for it to show as selected then click the ‘Install’ button:
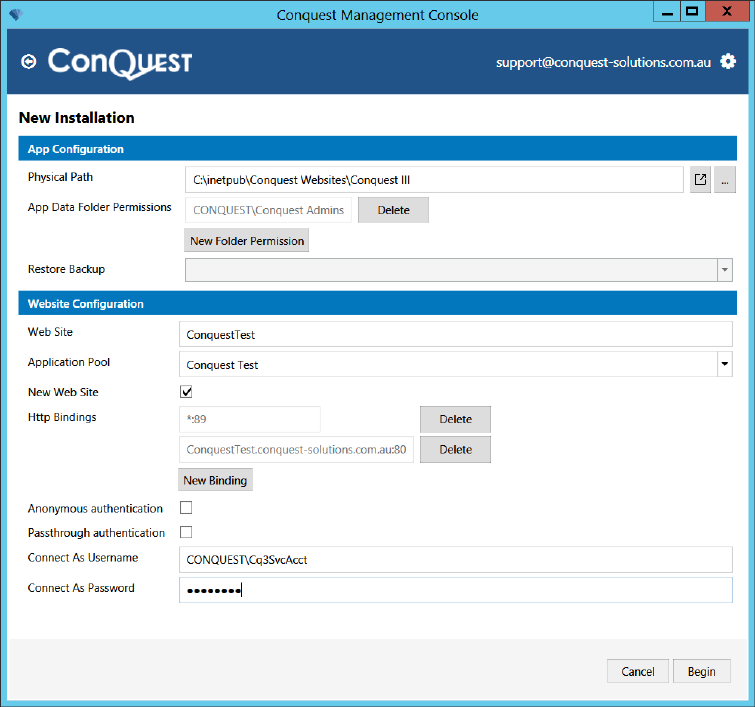
Step 7. Configure the default values:
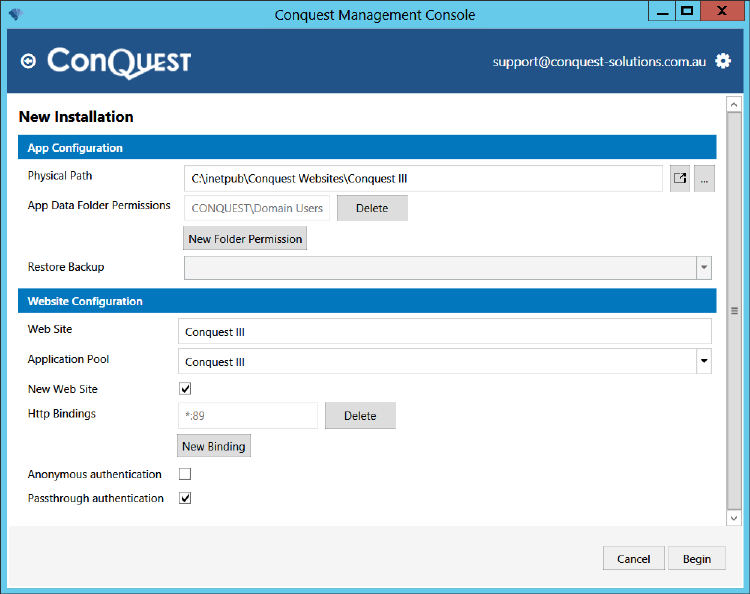
Step 8. Append a new folder to suit the purpose of the installation e.g. “\Test”, to the ‘Physical Path’
Step 9. For the ‘App Data Folder Permissions’ which the installer defaults to ‘Domain users’, click Delete
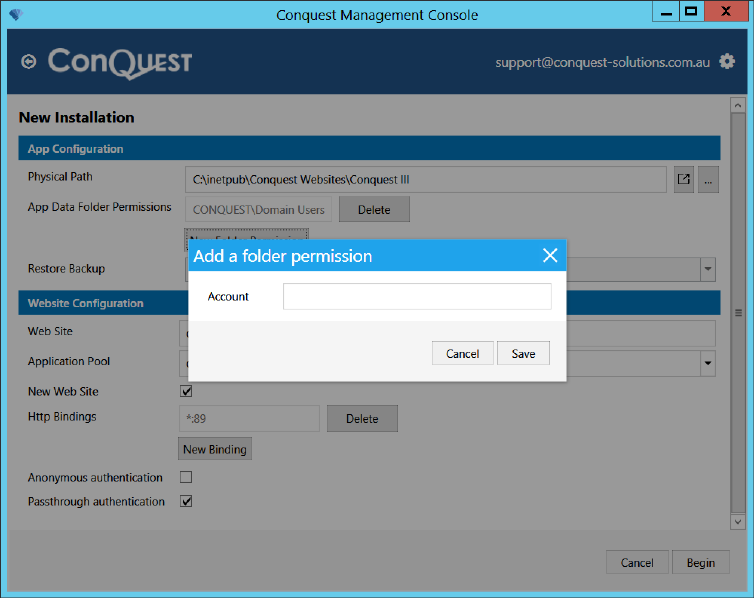
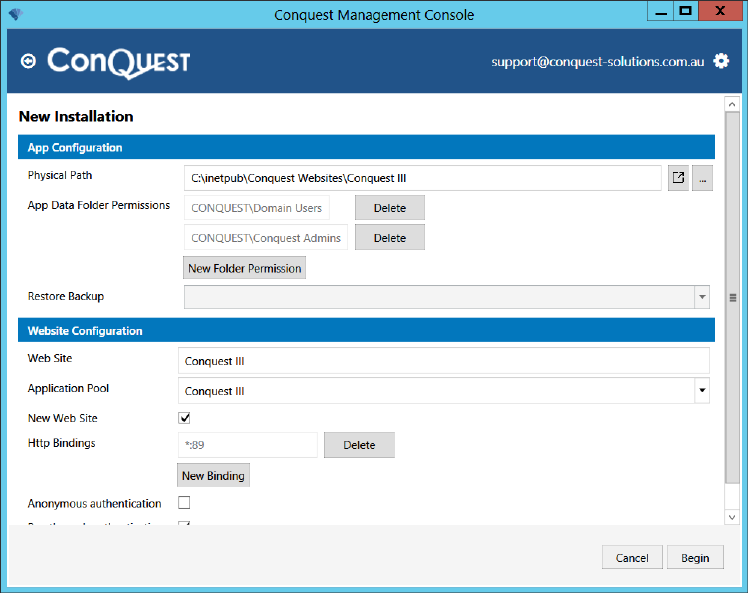
Step 10. Click ‘New Folder Permission’ and enter the name of a permission group that all Conquest Users are members of e.g. “[MYDOMAINNAME]\ConquestUsers”. Note: this name is case-sensitive
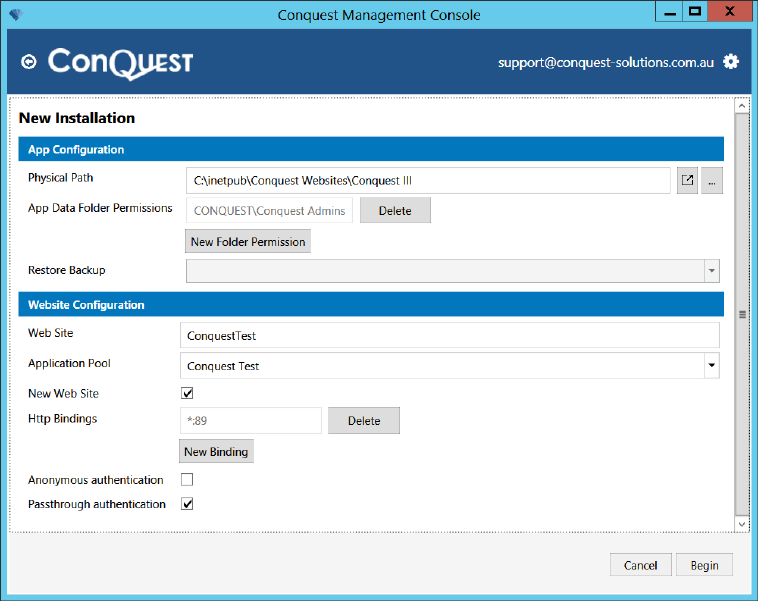
Step 11. Give the ‘Web Site’ a name, preferably not containing spaces e.g. “ConquestTest”
Step 12. Give the ‘Application Pool’ a name, e.g. “ConquestTest”:
Step 13. Leave the ‘New Web Site’ checkbox is ticked by default
Step 14. The ‘Http Bindings’ of “*:89” is just for example, so feel free to delete it and allocate a suitable port number with the ‘New Binding’ button
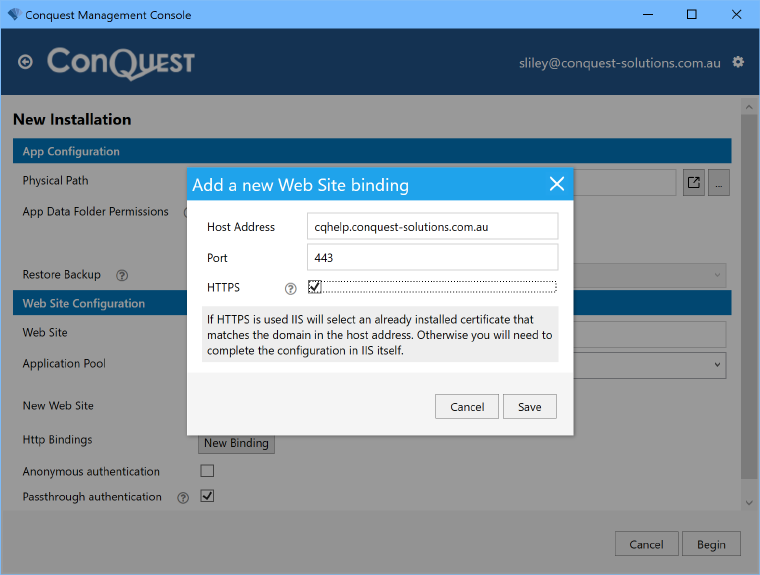
Step 15. When a DNS name is to be used, click ‘New Binding’ for that too. Note: from version 3.0400, Transport Layer Security (TLS-02) is requires, tick the ‘HTTPS’ checkbox, which requires that a trusted Transport Layer Security (TLS-02) Certificate has been installed on the web server:

Step 16. ‘Passthrough authentication’ is the default protocol but can be unticked for you to enter the ‘Connect As Username’ and ‘Connect As Password’ fields for entry of Service Account credentials, see Application User (pass-through authentication) for details,
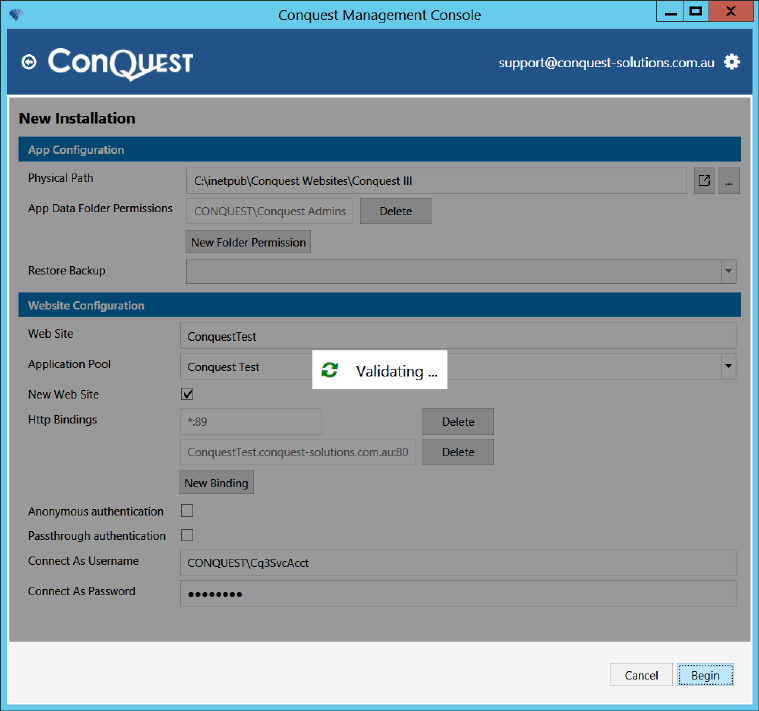
Step 17. Click ‘Begin’, the installer may take a minute or so to do the following:
•Validate the App configuration
•Download the Conquest III package. Note: This is a possible point of failure by loss of the internet feed. In this case, when the internet is available, click ‘Begin’, to try again
•Create the App and Application Pool
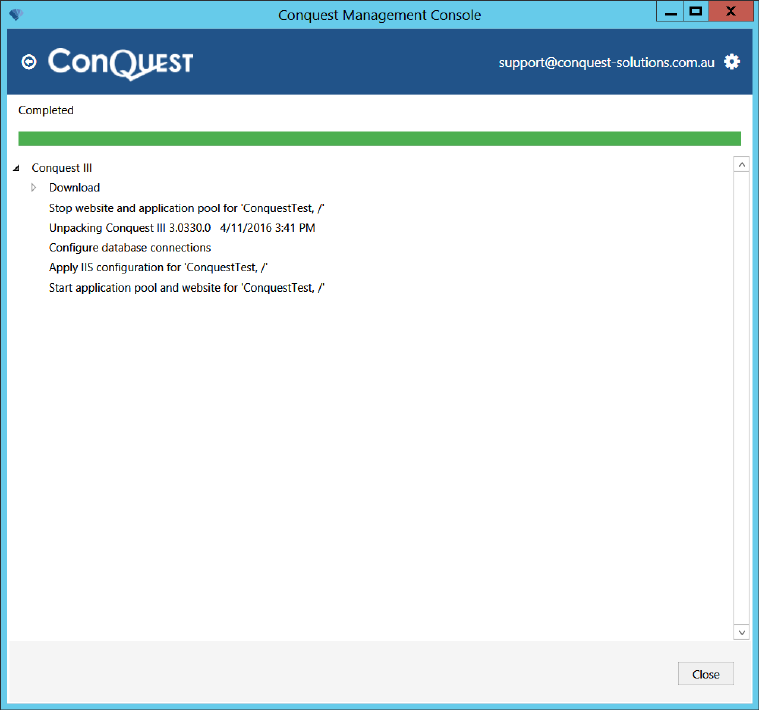
Step 18. Click ‘Close’ to complete the Web Site:
Step 19. After an install or update, you must:
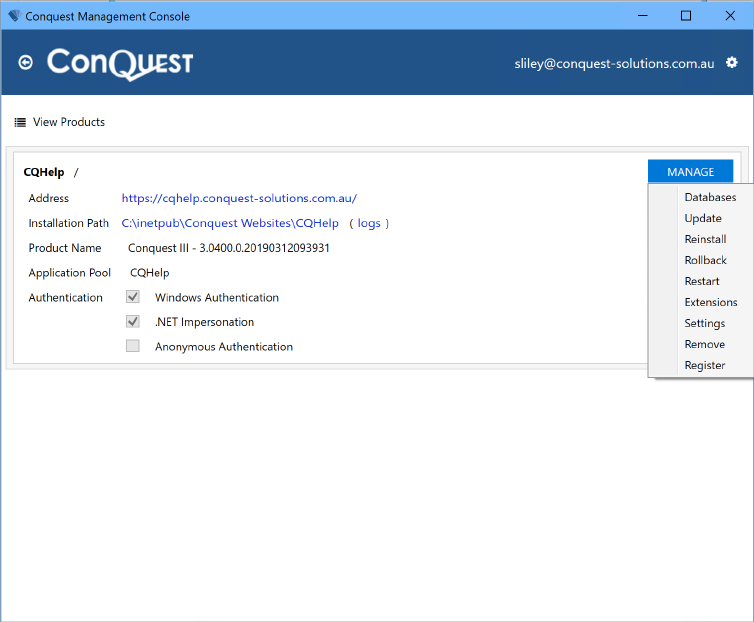
•For version 3.0400 and later, Conquest III must be registered in the Conquest Services Portal, so that licences can be handled. From the Manage Menu click ‘Register’:
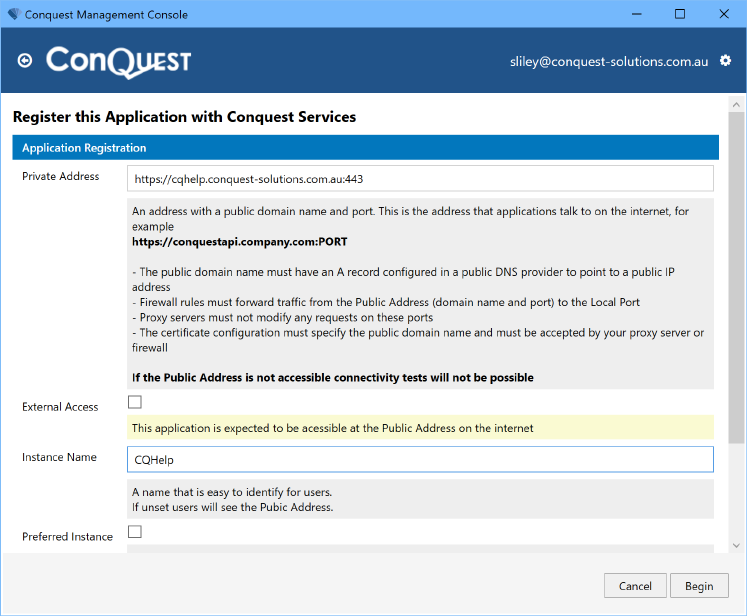
Step 20. Enter the address. External Access is only required if the web site is to be available on the Internet, in which case you will need a Public Firewall Rule
Step 21. Create at least one Database Connection, if it doesn’t yet exist
Step 22. Update the Licence
Step 23. Refresh System Objects
Step 24. Optionally, use Conquest III as an Administrator, and run the ‘Report Manager’ function ‘Manage Updates’, which will provide you with the latest Standard Reports set. Note: If this is not done, the standard Reports and Filters that have been developed for them before the Conquest Upgrade, will be unavailable
Step 25. Use the Manage Menu to refresh Licences and System Objects