Configure the Standard Action
Step 1. Create at least one
Master Standard
Action on a level one Asset Type that is an
ancestor of the Action
Types that you are creating Standard Cyclic Actions
for:
a. Select ‘Master’ as
the Action
Type
b. Enter the Details section. See Standard Actions:
c. Set the Organisation Unit, who will
receive the Master Work
Order by email
d. Set the Work Order Format for the
Master Action
Note: If you are
creating Standard Cyclic
Actions in many branches of the Asset Type Hierarchy it will
be best to have a Master
Standard Action for each branch
Step 2. Create Standard Actions for the
Asset Types that
you want to create a cycle of Actions for:
a. Select ‘Cyclic’ as
the Action
Type
b. Enter the Details section. For more on
Standard Actions
and the Business
Rules on the Cyclic Type, see Standard Actions for
details:
c. Set the Organisation Unit
d. Set the Work Order format
e. In the Schedule Configuration
section enter:
•
Cycle
•
Cycle
Units
•
Create Cycle
Automatically:
If selected, all Existing Assets of the
Asset Type will
have a cycle created for them, see Cycles in Bulk.
Otherwise, leave it unticked and
start the Cycle on all Assets
(Existing) of the Asset Type individually. See
Cycles by Asset.
Modify Created Cycles
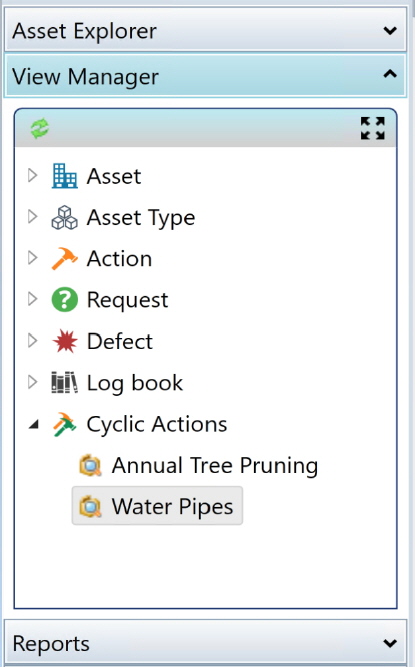
Step 1. Click the Cyclic Actions item of the
View Manager to
see the existing Views:
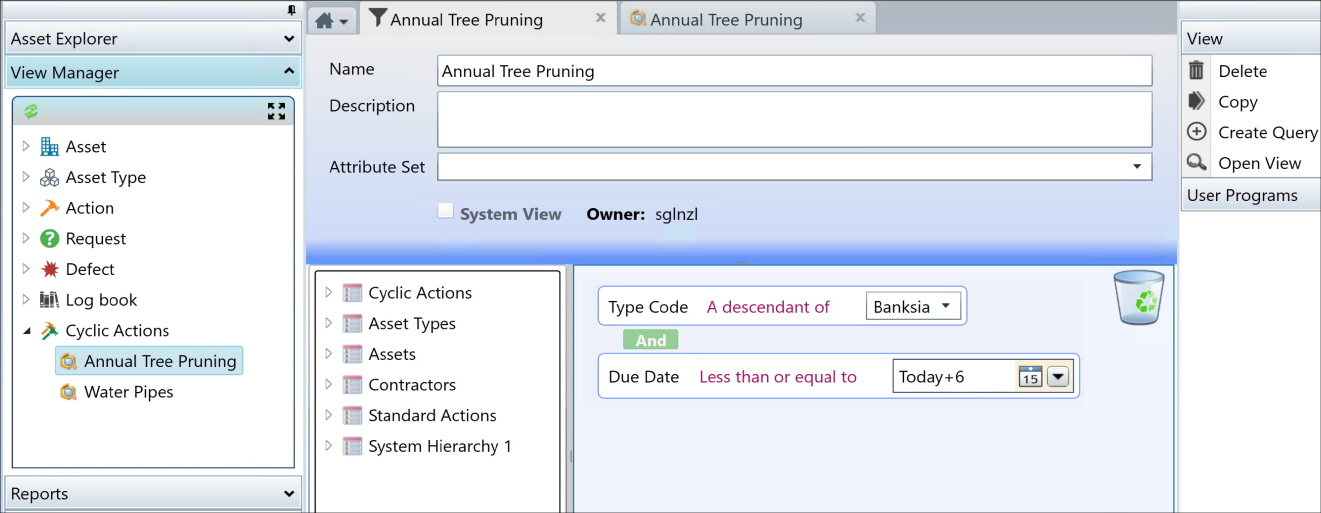
Step 2. Select an existing
View or create a new one for Action Cycles on the type of
Assets you are working with. See Filtering for details:
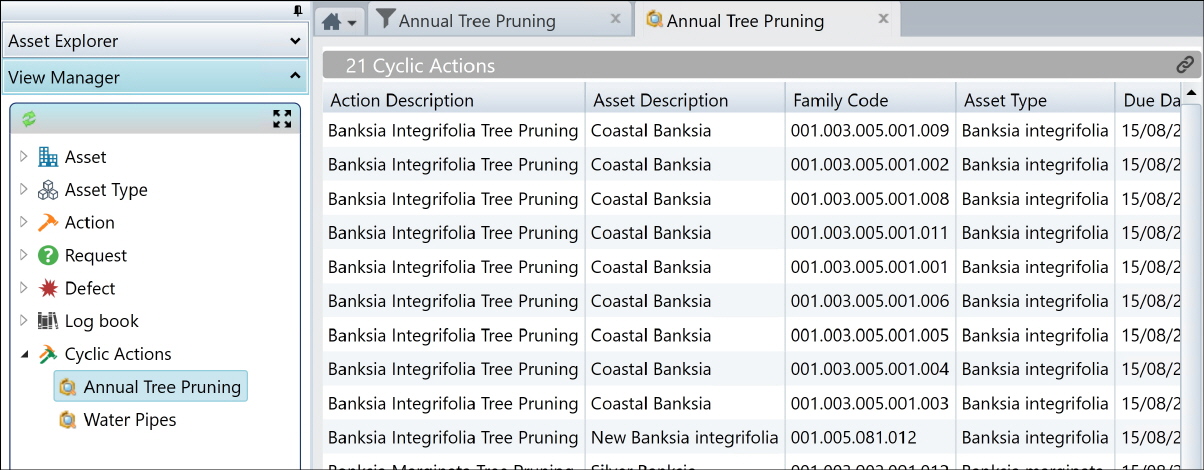
Step 3. Open the View,
which contains a row for each Asset and Action Cycle generated from
the Standard Cyclic
Action
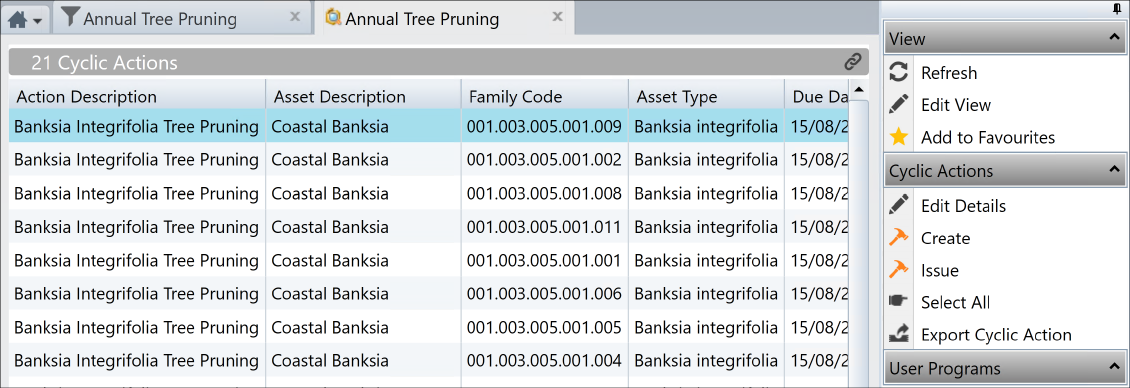
Step 4. You can edit the
Assets in an Action
Cycle, singly:
a. With a double-click
or a click on the Edit
Details Task, if you prefer. Editing is described in the
multiple-selection option below
b. Click on ‘Create’,
to create an Action and open it in the Action Form to edit and
Issue it:
c. …or you can select
a number of Cycle(s) that you want to activate then click the Edit Details Task to:
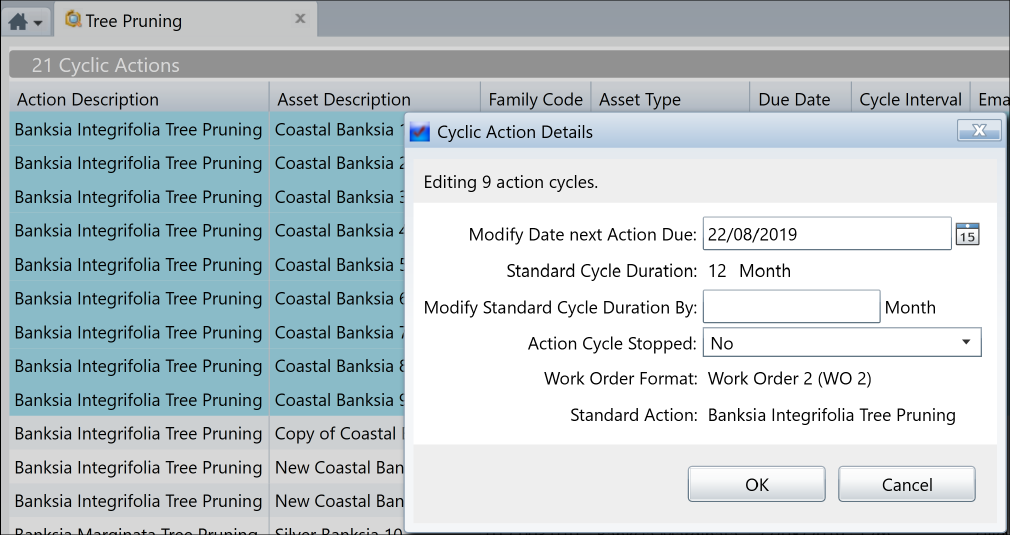
Step 5. Click OK
Step 6. Click the ‘Create’
Task, to create Actions and, when you are asked:
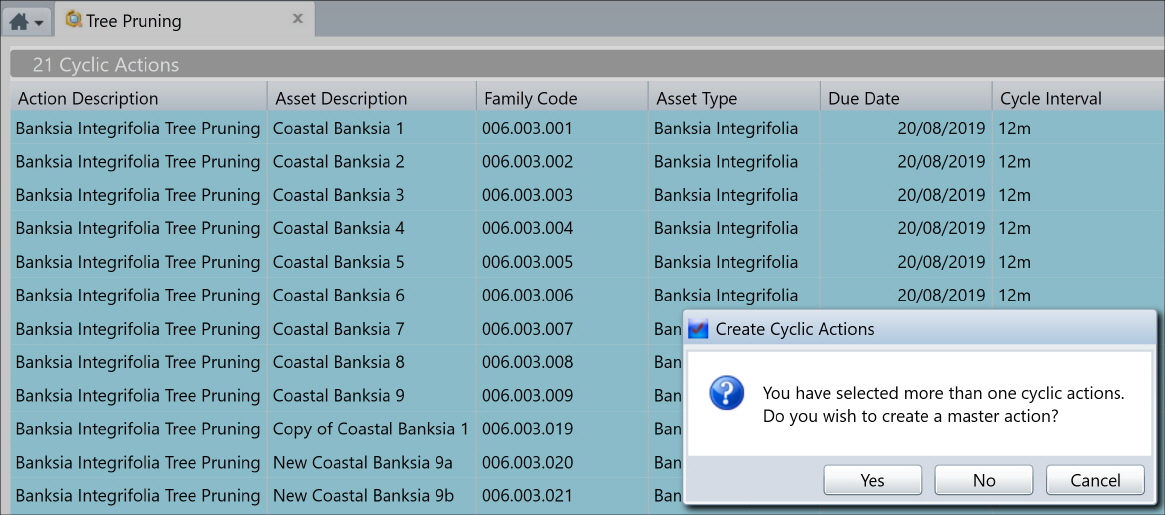
Step 7. Click ‘Yes’ to
create a Master
Action, from which to print/email a Master Work Order for the
Cyclic Actions
(Click ‘No’ to work on the Actions later):
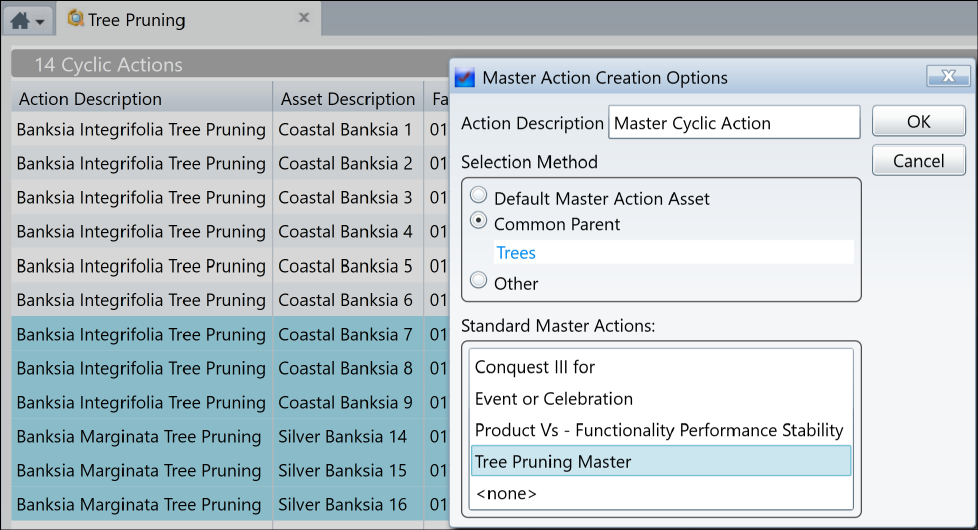
Step 8. Select the Asset to
own the new Master Action
Step 9. Select a Standard
Master Action or <none> for Ad Hoc
Note: If you cancel out
of the Master Action process at any stage, you will see it replaced by an
Action View List
of the newly created Actions, which you may work with now or later
Step 10. Click OK
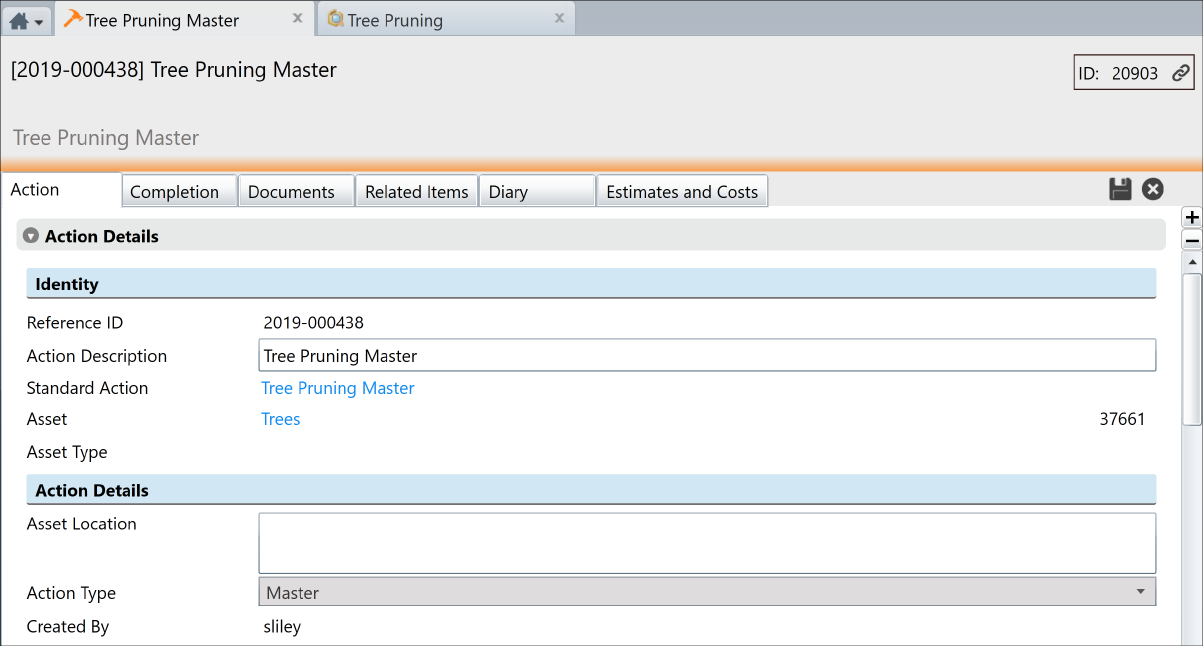
Step 11. Enter any additional details
such as a different Organisation Unit
Step 12.
Click Save
Things to be aware of:
Once the Create part of the process is run, the selection of
Action Cycles have
their Due Dates set to the next cycle.
When setting up the filters for Cyclic Action Views, always
include the Due
Date, to accurately limit the list