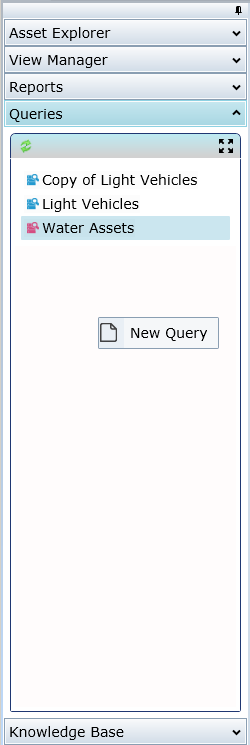
Expand the Queries bar of the Navigation window:
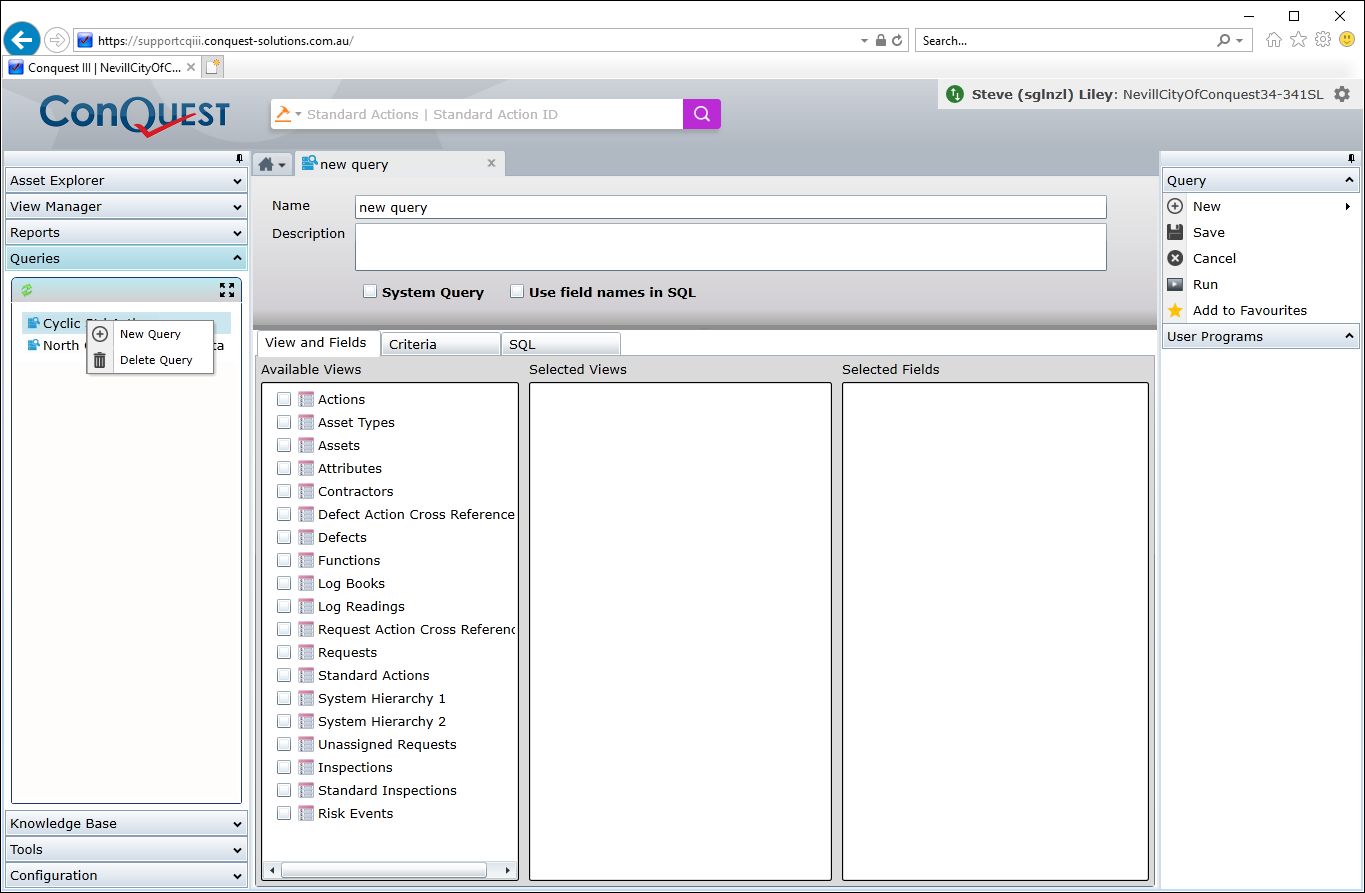
•To create a new Query, right-click anywhere in the Queries panel and select the ‘New Query’ option, which opens an “empty” Query in the Query Builder Form for entry of the header and data tabs to construct the Query:
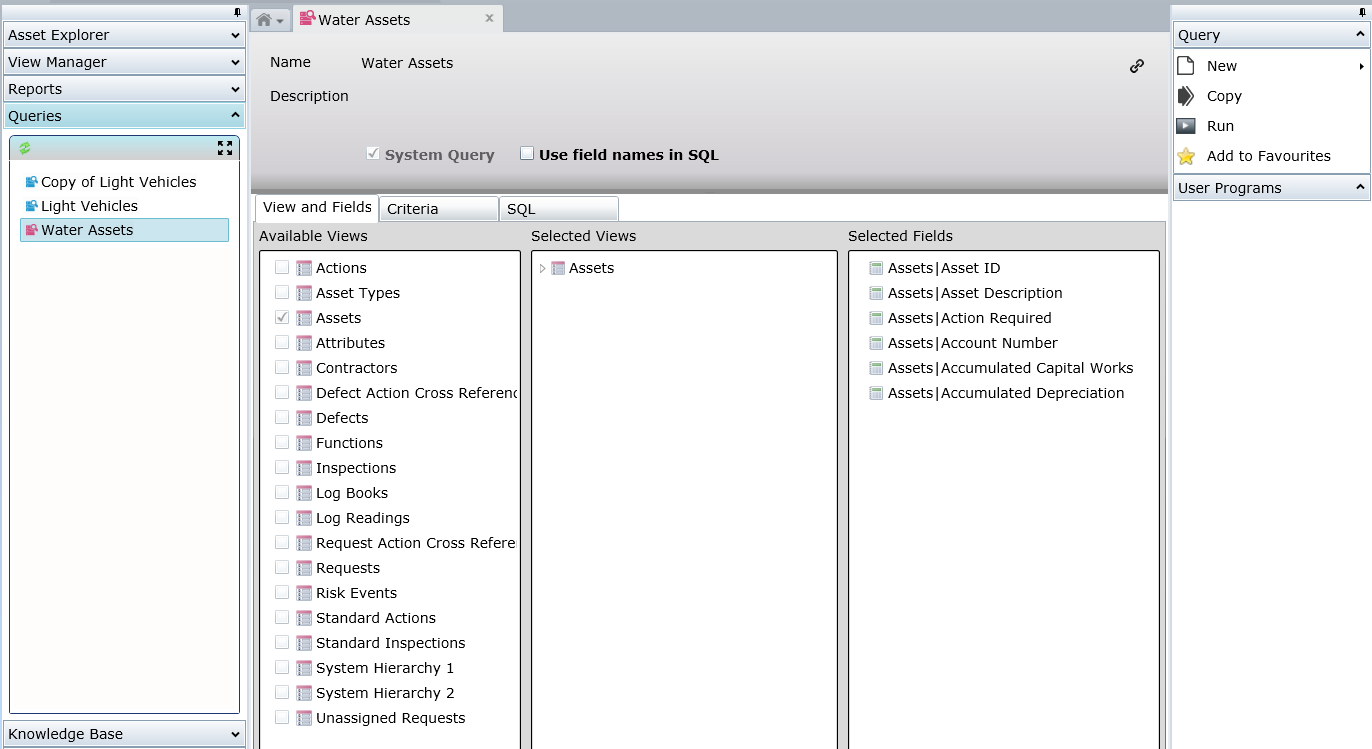
•To edit an existing Query, left-click on the Query to be edited, which opens the selected Query in the Query Builder Form for modification of the header and data tabs:
1. Give the Query a meaningful name and, if necessary, a description to explain its purpose
2. From the ‘Attribute Set’ drop-list, which is only visible if the ‘Asset Types’ View has been selected (See 6), select an Asset Attribute Set to filter the Asset data with
3. From the ‘Category’ drop-list, which is only visible if the ‘Actions’ View has been selected (See 6), select an Action Category to filter the Action data with
4. An Administrator, designing the Query for other Users, must tick the ‘System Query’ checkbox to make the view available for any User to run
5. To force the Query Builder to use the actual Database Column Names in all of the data tabs instead of using Attribute Labels, tick the ‘Use field names in SQL’ checkbox
6. In the first tab ‘View and Fields’, which is where logical “Views” of Conquest Data Objects are provided, set the context and content of the Query as follows:
•Select one or more data sources in the ‘Available Views’ panel e.g. for an Asset related Query, select Assets; probably along with Asset Types, and for the work done on them, select Actions. Sometimes a View needs to be selected just for use in the Filter Builder (See 7) even though it has no data in the Result List
•Select the data fields from the ‘Selected Views’ panel that will then be displayed in the ‘Selected Fields’ panel for further Query design work
•In the ‘Selected Fields’ panel, move items up or down for the best layout, when the Query is run
7. Use the Filter Builder in the second tab ‘Criteria’, to select fields and apply criteria to them to filter the Result List. See How To Use The Filter Builder for details.
8. The Views for selecting Criteria fields, correspond to the Views that were selected in the First tab (See 6)
9. In the Third tab ‘SQL’, an Administrator with a good knowledge of Microsoft SQL Server T-SQL, can refine the Query output beyond the capabilities of the first two tabs.
Things to be aware of:
•See the Query Builder in the reference section, for more details
•When the ‘SQL’ tab has the focus, the ‘Load Script’ Task becomes available, which is used to load a pre-prepared and tested script ‘SQL’ tab. This can be for specialised output and is also sometimes used with scripts provided by Conquest Solutions Support, to reconfigure data
•Use the ‘SQL’ tab with caution, as incorrect syntax can give the wrong result
•Use of the ‘SQL’ tab switches the first two tabs to Read Only mode for the life of the Query
10. Use the Run Task to output the Query data into the fourth tab ‘Results’
Use the Query Tasks in the Tasks Window as follows:
•New Query Opens a Query Form for the definition of an entirely new Query. Any Query already open remains open in the Information Window
•Save Only available for a new Query that has yet to be saved
•Cancel Only available for a new Query that has yet to be saved
•Delete Pops up a confirmation dialog to delete the Query and on OK, deletes it
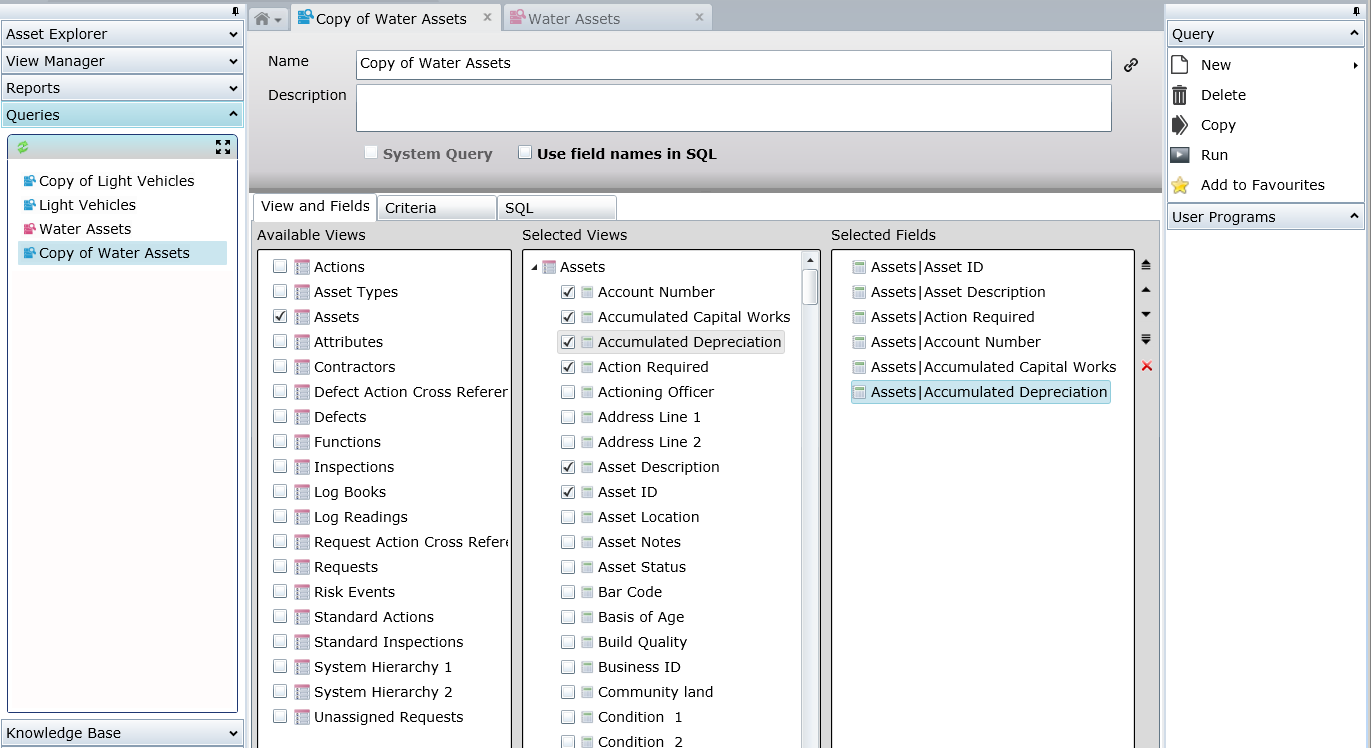
•Copy Duplicate the currently open Query with the same name, prepended with “Copy of “. In this example the System Query ‘Water Assets’ has been copied, creating a User Query to be configured:
•Export Only available after the Run Task has been used. Outputs to Excel or CSV format files
•Load Script Only available from the ‘SQL’ tab to browse to a script file and load it into the ‘SQL’ tab
•The script might have been prepared by an Administrator for specialised output or provided by Conquest Solutions Support, to configure data
•Run Executes the Query, fills the Results tab and displays the Export Task in the Tasks Window
•Add to Favourites Puts the Query into the Conquest Home Page, Favourites section
Note: By selecting an Attribute Set or Action Category, the Result is automatically restricted to Assets/Actions that match that choice, no matter what other criteria is additionally configured.
The SQL Tab is normally read-only but can be edited by Administrators and contains the SQL (Structured Query Language) that is used by the SQL Server Database System to manipulate data. An Administrator with experience in using SQL can construct any valid SQL statement and run it. This is fine for data retrieval but for content changes, which will affect the Conquest Data, great care must be exercised. Please contact the Conquest Solutions Support team before using this feature to make sure that the edits are permissible.
There will occasionally be times, when a Conquest Solutions Support team member will provide a SQL script to configure data via the Query Builder.
Some typical uses for the Query Builder
•It can be very useful when doing Data audits to present the required data in a spread sheet style, which helps in identifying missing or erroneous data
•When doing bulk data updates into Conquest, the Query Builder is the best tool for extracting the required base data to change, along with the AssetID or ActionID etc, exporting it to Excel for editing, then using the ‘Import Manager’ to load the changes back into Conquest using the ‘Import Assets’ or ‘Import Actions’ or ‘Import Defects’ Tasks