Typically, the Asset Management team members belong to a Security Group, which must be given permissions as follows:
•Read/Write to the network folders that Conquest III gets resources from, as follows:
•The ‘Document Directory’ specified in the Conquest System Options, and its sub-folders
•The ‘Work Order Snapshot Folder’ specified in the Conquest System Options
•The Icons folder(s)
•Files attached to Assets, Actions etc. by full UNC path, where the files are not in the ‘Document Directory’
•Modify to the “App_Data” folder e.g. “\\Server\inetpub\www\conquest\CQxxxxx\App_Data”. Conquest Solutions recommends that a parent folder is created before the installation is done, solely for Conquest software e.g. “\\Server\inetpub\www\conquest”, and to give inheritable permissions to it
•Read to the SQL Server Reporting Services, Reports folder
•Granted access to the Conquest database, a Conquest role, also the db_owner role for Administrative users
•Enabled for Exchange Relaying with e-mail addresses derived from within Conquest
Note: Do not change the permissions given to the IIS “MACHINENAME\IIS_IUSRS” account by the Conquest III Installer for files and folders in the Server Side application path.
Authenticate by Service Account:
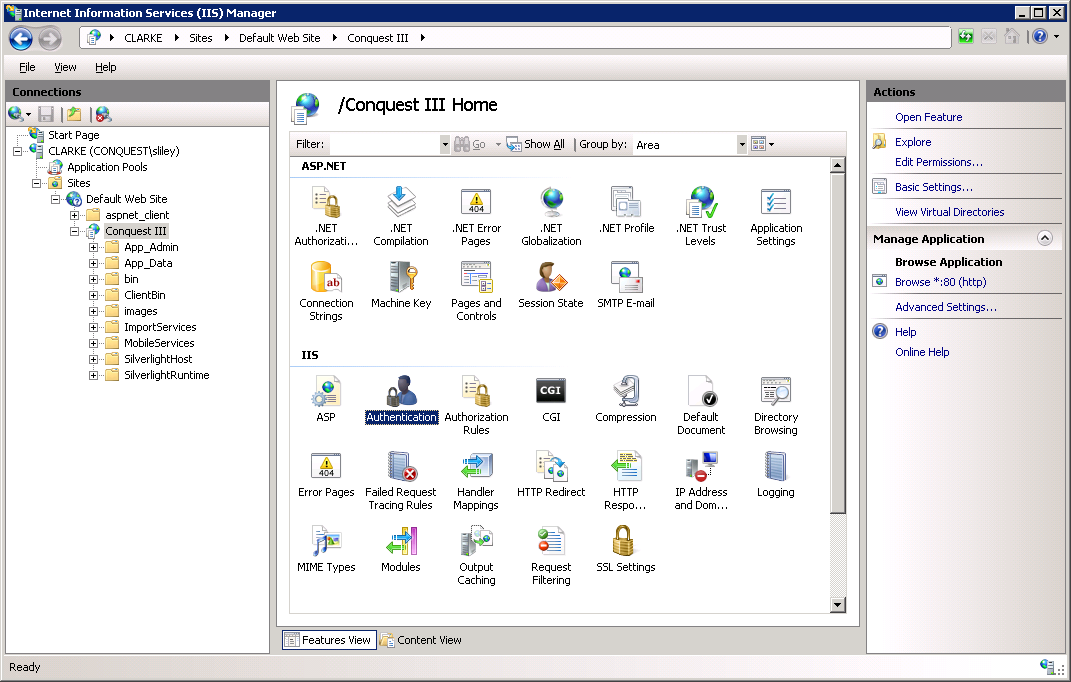
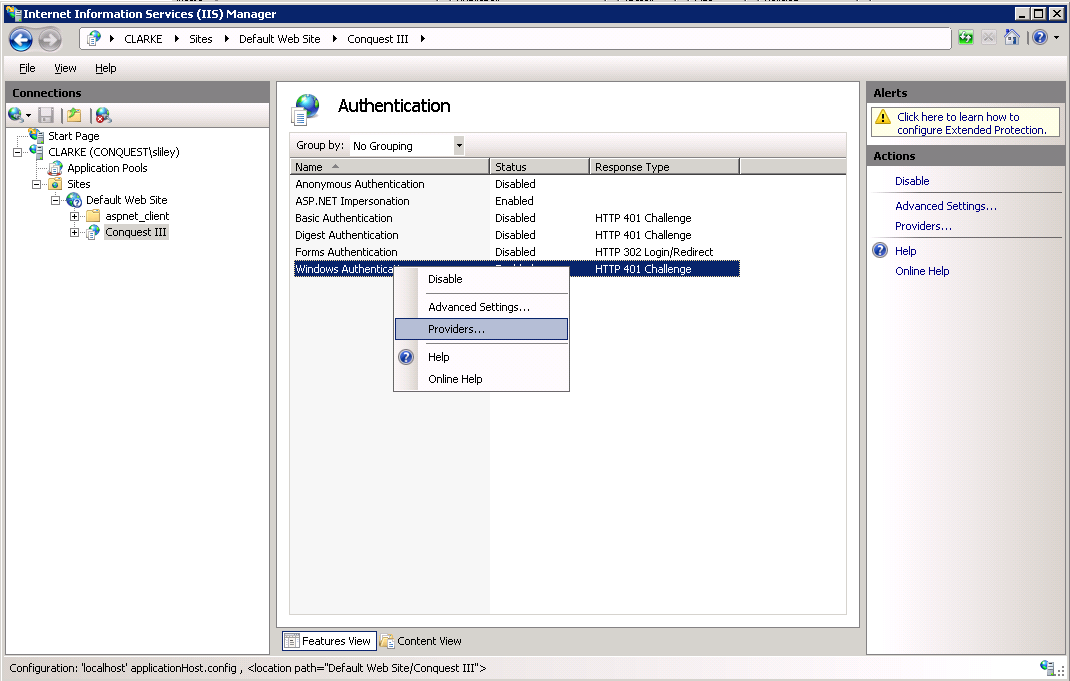
Step 1. Select the Conquest III instance then open the Authentication Feature, which shows the Authentication options.
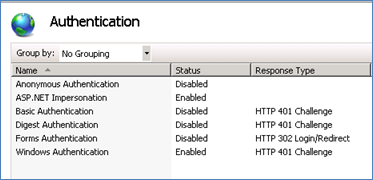
Step 2. Double-click on the “Windows Authentication” option to see the Authentications. This image shows them as set by the Conquest III Installer.
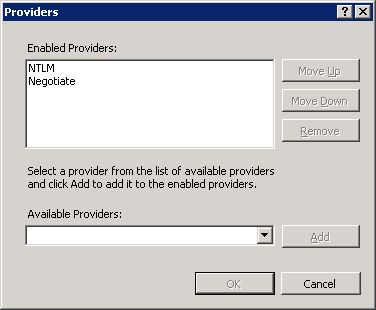
Step 3. Right-click on the “Windows Authentication” option and from the Drop-list select the “Providers…” option:
The NTLM option must be at the top of the list. If it isn’t, select it and use the Move Up button until it is.