Requires the following to be installed and operating on the Web Server:
•The IIS Windows Authentication feature needs:
•Enable Anonymous Authentication
•Disable ASP.NET Impersonation
•Disable Forms Authentication
•Enable Windows Authentication
•Microsoft SQL Server Compact Edition version 3.5 SP2. This is a tool for the Conquest Web Service to build a compact database to send to the mobile device. It has a small footprint and is not intended to transform the Web Server into a SQL Server.
•Note: On a 64-bit Computer install both 32-bit and 64-bit versions of Microsoft SQL Server Compact 3.5 Service Pack 2
•1. Install the 32-bit version of SQL Server Compact 3.5 SP2 by running the SSCERuntime-ENU-x86.msi
•2. Install the 64-bit version of SQL Server Compact 3.5 SP2 by running the SSCERuntime-ENU-x64.msi
•Microsoft .NET Framework version 4.6 or later
•Note: If the Windows IIS Feature is configured after the .NET Framework is installed, you must register .NET by running “aspnet_regiis.exe –iru”. This is an undocumented tool provided by Microsoft for exactly this situation, located in:
•32 bit machines - C:\Windows\Microsoft.NET\Framework\v4.0.30319
•64 bit machines - C:\Windows\Microsoft.NET\Framework64\v4.0.30319
•The Web Service Installer, downloaded from the Conquest web site.
•Administrative privilege for any executable (.exe) files being installed.
Installation steps:
Step 1. On a pre-configured web server machine, install the Extended Microsoft .NET Framework 4.5. This can be installed by downloading and running the installer from the Microsoft web site
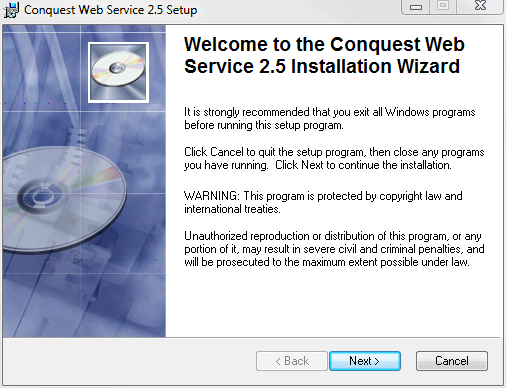
Step 2. On a pre-configured web server machine, run the Conquest Mobile Web Service Installer with Administrator privilege. You may see some small windows appear briefly before the Welcome Screen. Click ‘Next’ on the following two dialogs.

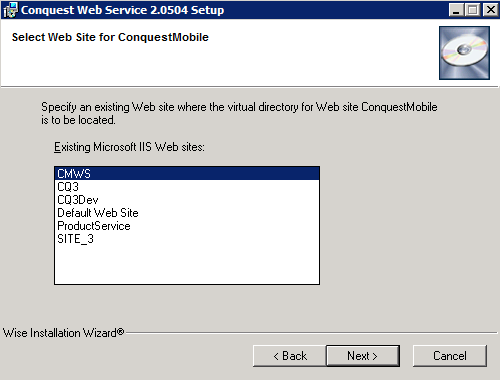
Step 3. In the ‘Select Web Site for Conquest Mobile’ dialog, select the Web Site that the Web Service is to be installed on. If a site other than the ‘Default Web Site’ is chosen then the server name part of URLs to connect to the web service will need to have the Port Number appended e.g. ‘ServerName:82’
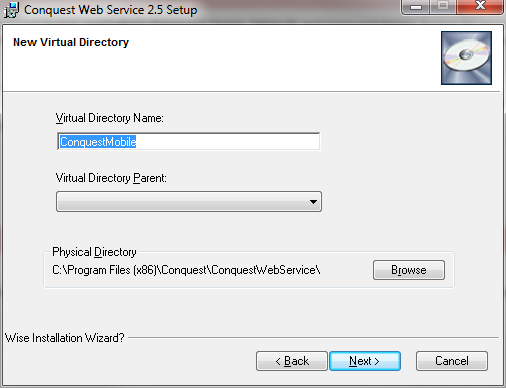
Step 4. In the “New Virtual Directory” dialog, enter the name of the virtual directory for the web service. The default is “ConquestMobile” but this can be any other name that suits.
If the virtual directory is to be created below another virtual directory, then select the parent directory in the list.
Select the path to the folder containing the web service file.
Click “Next”
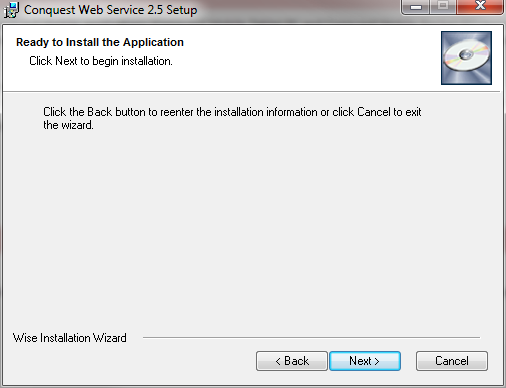
Step 5. Click “Next” in the “Ready To Install Application” dialog.
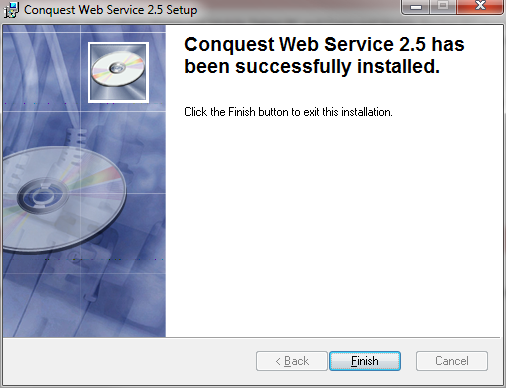
Step 6. Click “Next” in the “Finish Dialog”