
Use the Location Editor, as follows, to record hierarchies of Locations e.g. a break-down of wards or towns or suburbs:
Step 1. Click on Knowledge Base in the Navigation Window
Step 2. Click on Editors to expand the group
Step 3. Click on Locations
To create a Location, you can:
Step 1. Click New > Top Level Location to start a new hierarchy of Locations
Step 2. Click on a Location to select it then click New > Location
Step 3. Follow the points below
To edit an existing Location, locate it and click to open in the Location Editor
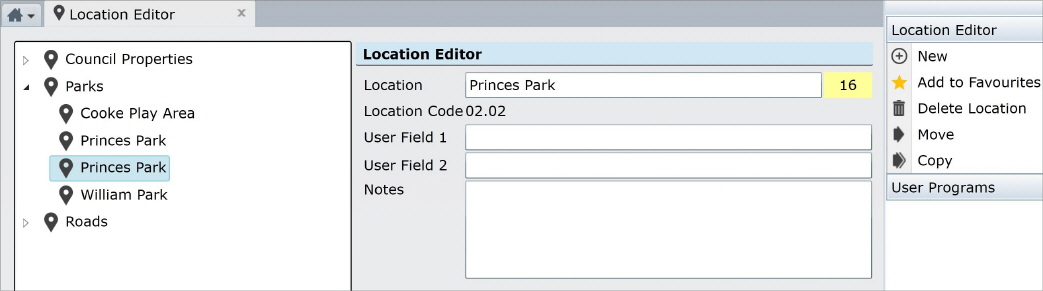
Step 1. Enter a Location Description, usually the name of the Location, as it is known by in your organisation
Step 2. Optionally enter:
•User Field 1
•User Field 2
•Notes
Step 3. Click Save
Locations that have been assigned to your Assets are immediately available for filtering and grouping. All Assets assigned to an item in the Location hierarchy can be Filtered by that location.
The Location Editor cannot create duplicate rows but, should there be a 3rd party Location Management product interfacing with Conquest, or even the use of a SQL tool, the possibility of duplicate rows does exist. The latest version of the Management Console checks the Hierarchy tables during the Refresh System Objects function and, if there are duplicates, will produce a list for you to pass to Conquest Support for urgent attention.
Locations are configured much the same as other hierarchies.
Although historically it has been common practice to record suburb or town names in an Asset’s location description field, it’s not usable as a Filter for a report, which is why the Location hierarchy was introduced, to provide consistent, Filterable, Location data.
The location description field of an Asset, is best used for specific detailed information e.g. “Behind the Gums on the western slope”.